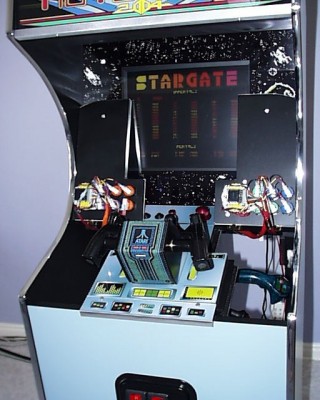
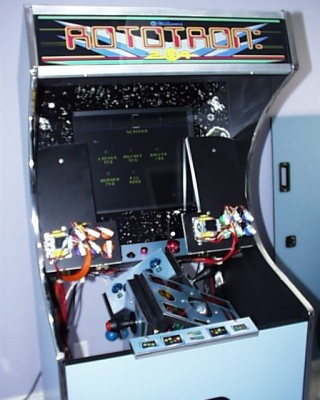
I was very impressed when I stumbled across 1UP’s rotating cab on the web. That day I decided I would build my own. First I selected the controls. Next I came up with a basic shape for the cabinet, which is based on a Robotron cabaret. One of my key constraints was size. I wanted the cab to have a footprint no larger than 2 sq. ft. I played around with the math and calculated that dual horizontal rotating panels would afford the most reasonable dimensions. I went with a triangle and square panel to maximize the amount of controls. The triangle panel sacrifices 1 side but provides much more height and depth which I need for my yoke.
 Click image below to try interactive controls:
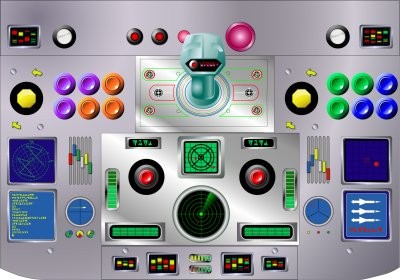
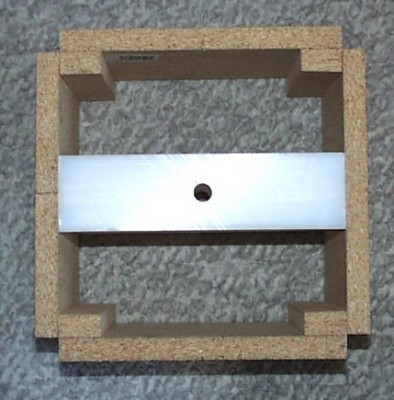
Here is the basic shape of the square panel which houses a Tron joystick, a ball-top joystick, a stock Perfect 360 and a leaf switch panel.
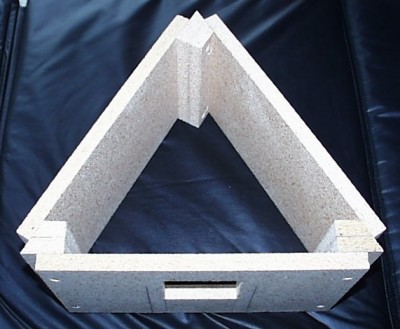
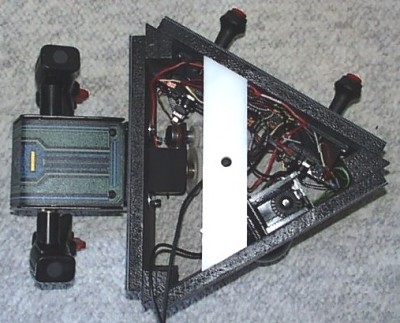
and the tri-panel which house a flight yoke, a trackball and dual top fire joysticks.
In order for the tops of the square and tri-panel to align flush, the inradius (apothem) must be equal. Here is the formula that shows the relationship between the square and triangle inradius:
1/6 x √3St = .5Ss
Ss = Side of Square Panel
St = Side of Tri-Panel
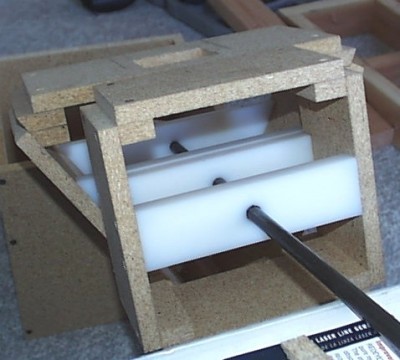
If anyone is interested, here is a good source for polygon formulas. Here you can see how the panel tops are aligned when mounted on their 1/2 inch steel axel. Note the difference in circumradius.
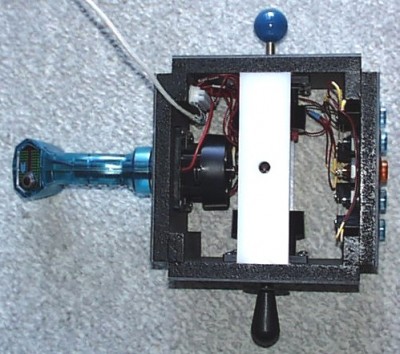
Originally, I had planned on using pillow block bearings to connect the axel to the panels, but I was dissuaded by the cost and the weight. I picked up an inexpensive piece of Ultra High Molecular Weight (UHMW) plastic instead on Ebay. The UHMW is very strong, easy to cut and has very low friction. Here is the completed square panel ready for installation.
and the completed tri-panel.
Here you can see how the side panels swing up on concealed Soss hinges to allow the square and tri-panel to rotate.
A shot showing the panels in motion.
Scale slides of panel overlays.


