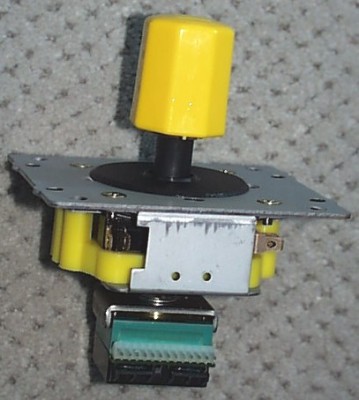
The LS-30 rotary joysticks have very short shafts which are designed for metal control panels. This makes installation in a wood CP challenging. There are really only 2 ways to install the sticks in wood. You can route out the bottom of the CP and install the joystick from the bottom or you can go with a top mount approach. I felt the top mount method would provide more stick height and would be more sturdy.
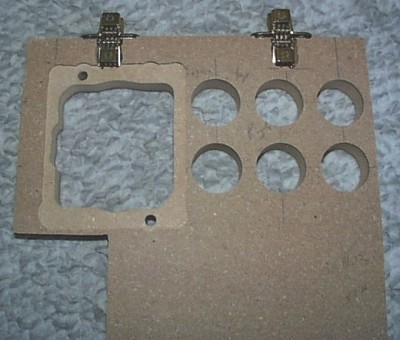
The first step was to cut a hole in the CP with a jigsaw that was just large enough for the base of the joystick to fit through. I carefully measured the base and made allowances for the protruding parts. Next I routed out the top of the CP to the size and depth of the joystick’s metal top. This allows the joystick top to sit flush with the CP. I also drilled 2 holes for my screw posts.
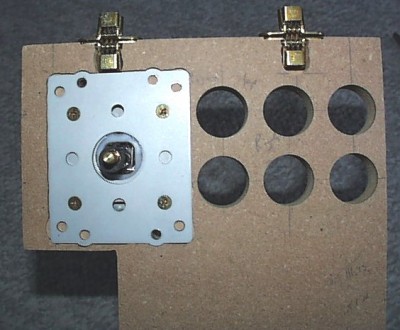
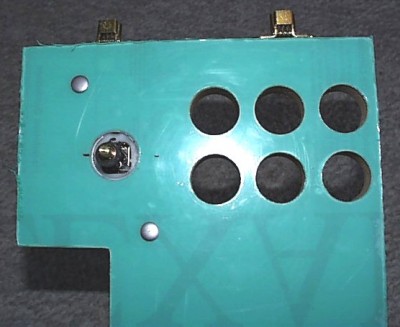
Here is a picture showing the joystick sitting flush with the top of the CP. It definitely helps to have the LS30 joystick tool to remove the tops. I must have pulled the tops off a dozens times during testing. I scanned the LS-30 Instructions in PDF if anyone needs them. I also have an Exploded View.
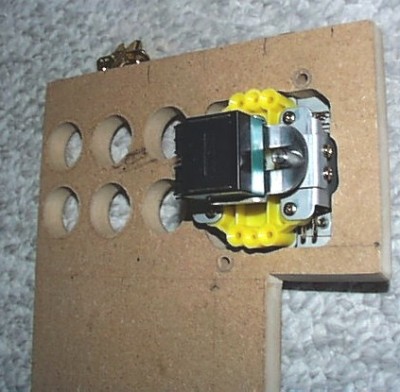
From the bottom you can see how the joystick fits snuggly. One problem with the top mount approach is that quick disconnects will not work. I ended up just soldering all the connections.
Next I drilled a 1-1/8″ hole in my Lexan top in the center of the LS-30 cut out with a forstner bit. I also drilled 2 small holes for the screw posts. I decided to use only 2 screw posts because the joystick is primarily supported by the CP.
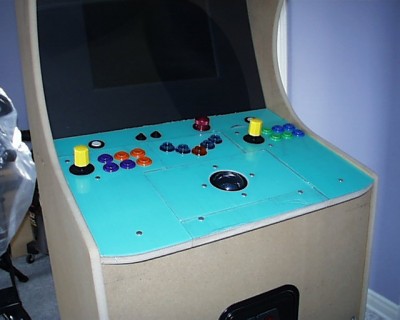
Here is a picture of both LS-30 joysticks mounted on the flip-up panels. The sticks are interfaced using a rotary interface that I built.


